
Sometime ago, a few of my quilter-students have put in the request for me to teach them to do an Art Quilt.
I have done an Art Quilt in a class where Kathryn Harmer-Fox was the Teacher, but I think she is ‘n wonderful motivator too! She makes you believe you CAN do it. With that motivation in mind, I did teach an Art Quilt Class to 6 quilters.
Judie Bellingham form BellaOnline, pointed out that an Art Quilt should at least look like a quilt by the type of fabrics used and should be composed of at least two layers - the face layer and the backing layer.

It should also be quilted, to give meaning to the term: Art QUILT. Some of these stitches must be visible at the back of the quilt.
With this concept in mind, I prepared to teach my first class.
Step 1: Iron a layer of Vilene onto the back of a piece of fabric – something like unbleached calico.
Step 2: Trace the design on the fabric, which is now called the background.


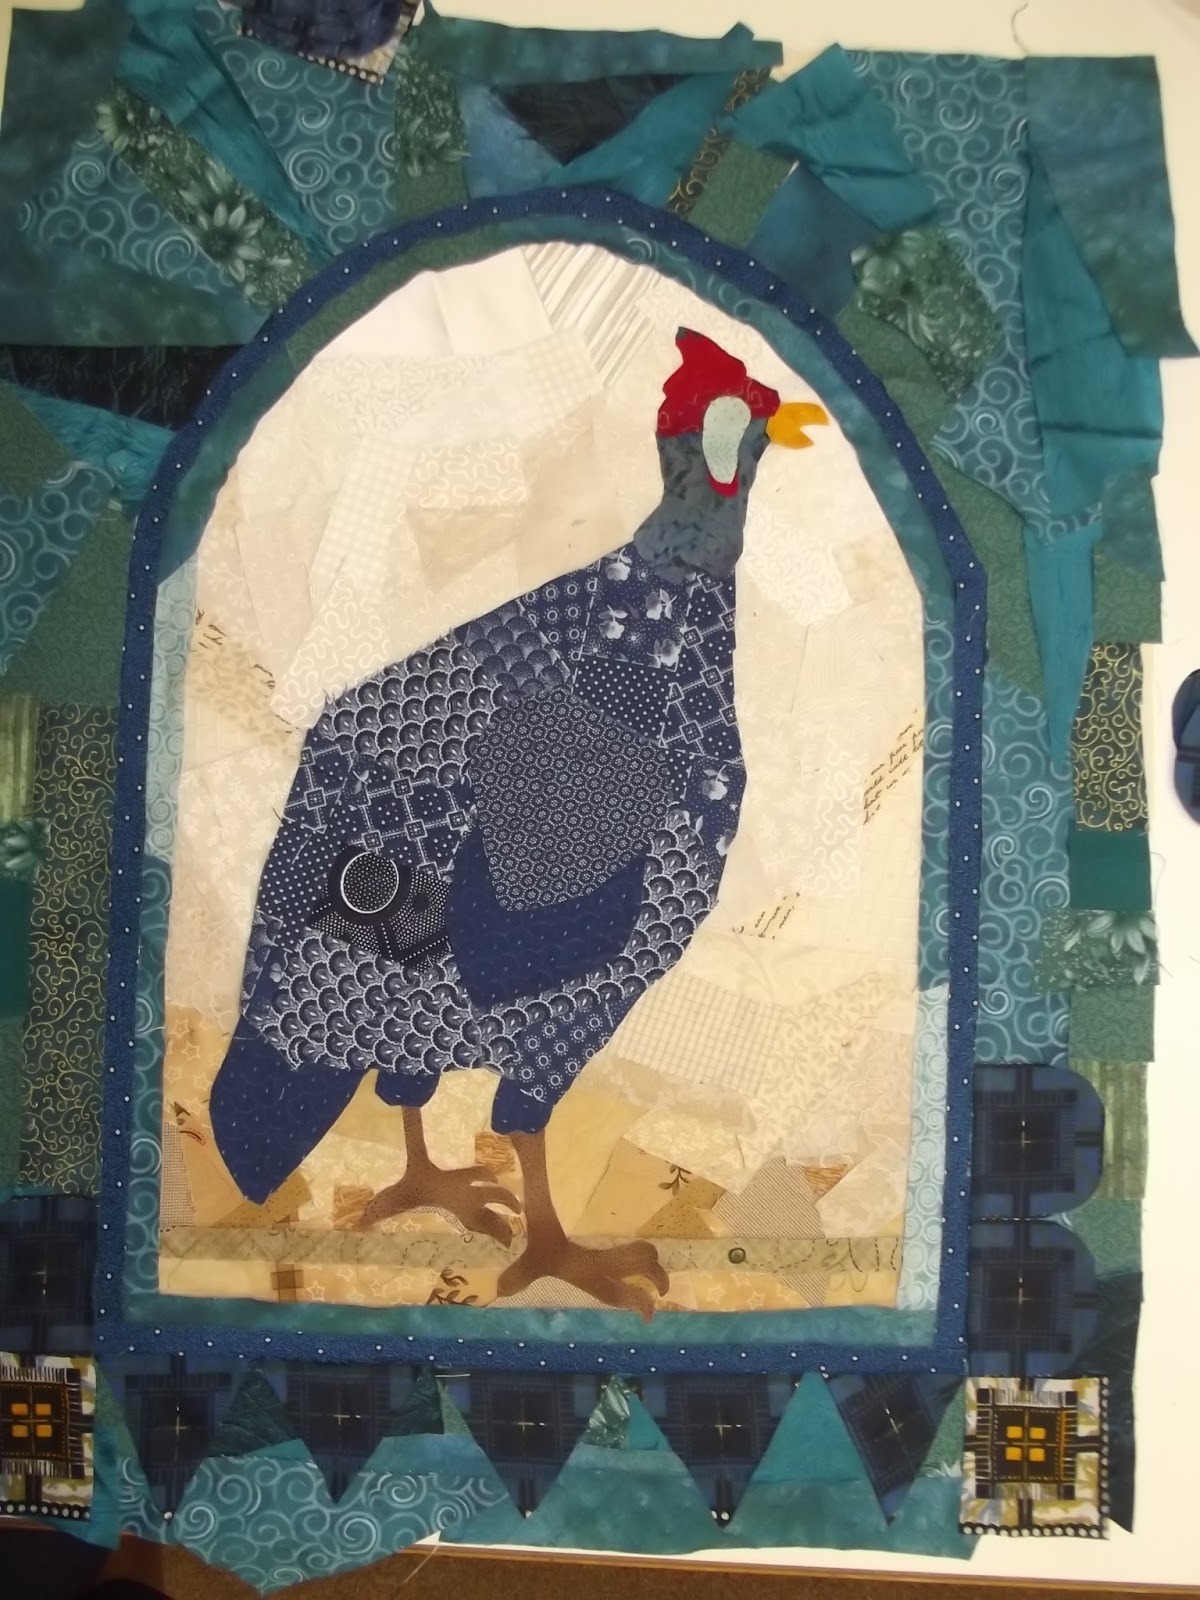
Step 3: Use Pritt and glue pieces of fabric (may include satin, silk, leather, organza, etc) onto the background.
Step 4: Cover all the raw edges with stitches in a matching thread.
Step 5: Layer the top with batting and a backing – we call this a sandwich.
Step 6: Quilt and finish off with a binding.

Step 7: Finish off with embellishments.
No comments:
Post a Comment